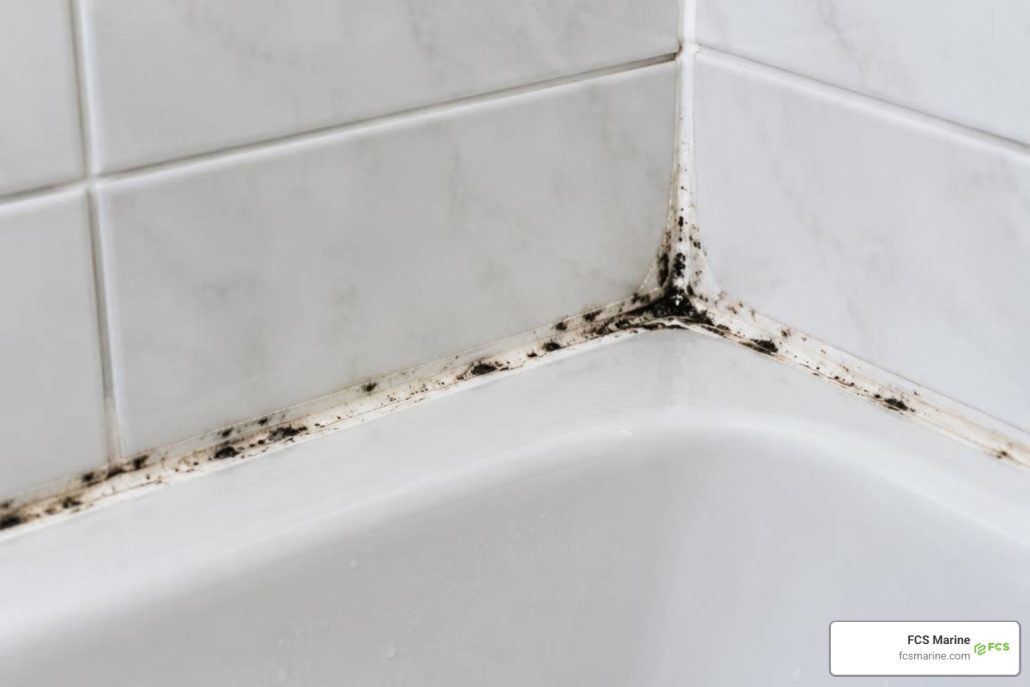
How to Clean Mildew in Shower Caulk
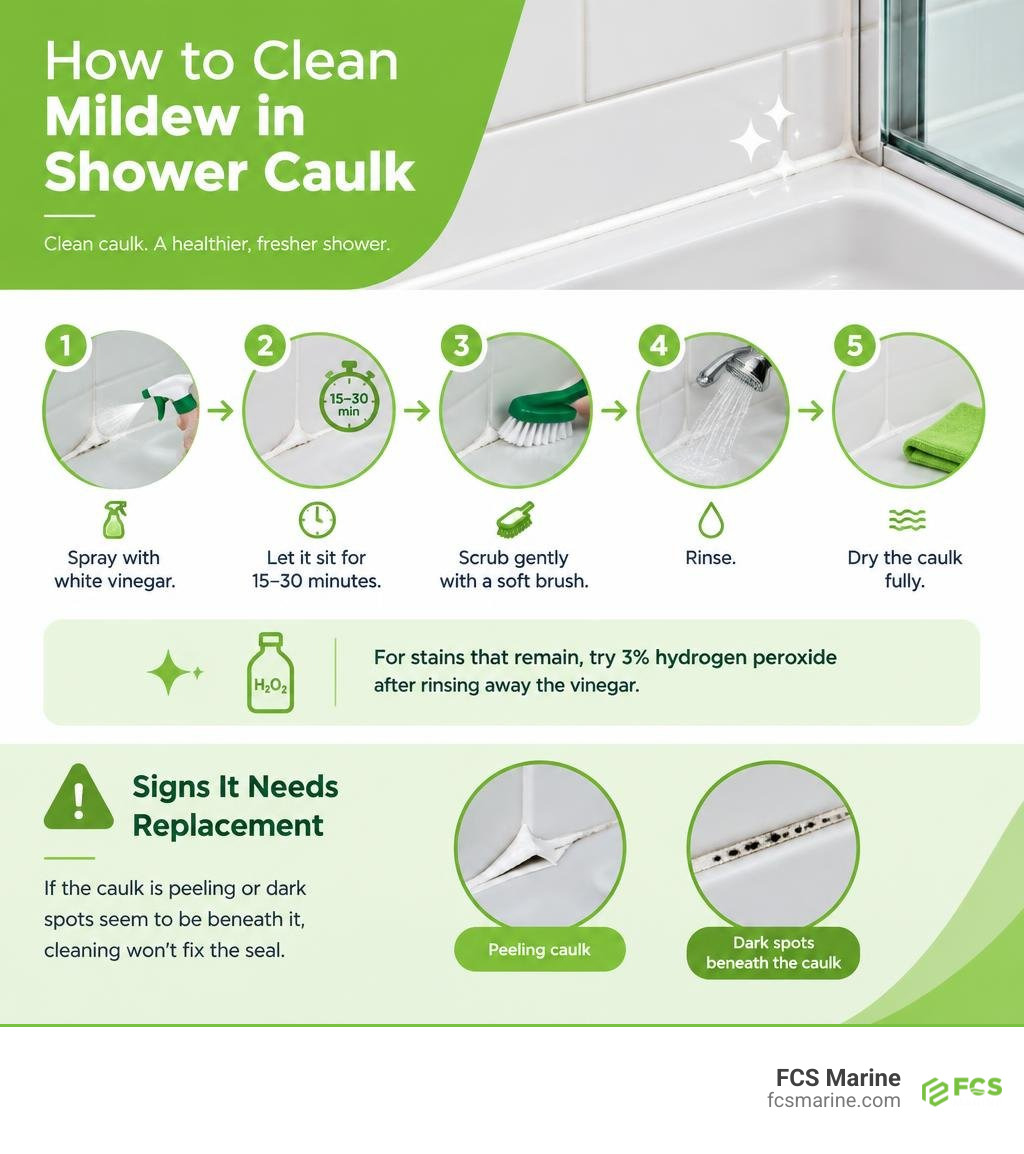
To clean mildew from shower caulk, spray the affected line with white vinegar and let it sit for 15 to 30 minutes. Scrub gently with a soft brush, rinse, and dry the caulk fully. For stains that remain, try 3% hydrogen peroxide after rinsing away the vinegar. If the caulk is peeling or dark spots seem to be beneath it, cleaning will not fix the seal; replace the caulk instead.
For yacht owners in South Florida, humid air and limited airflow in an enclosed head can make mildew return. FCS Marine provides on-site marine mold cleaning for owners dealing with moisture and mold aboard their vessels.
How to clean mildew in shower caulk vocabulary:
Why Mold and Mildew Form on Shower Caulk Lines
Shower caulk lines sit at the lowest corners and seams of your bathing enclosure, making them the primary collection point for standing water, humidity, and runoff. Every time someone showers, warm water combines with ambient room heat to elevate the local relative humidity well above 70%. When air reaches these saturation levels, moisture condenses onto cooler surfaces, pooling along flexible silicone or acrylic joints.
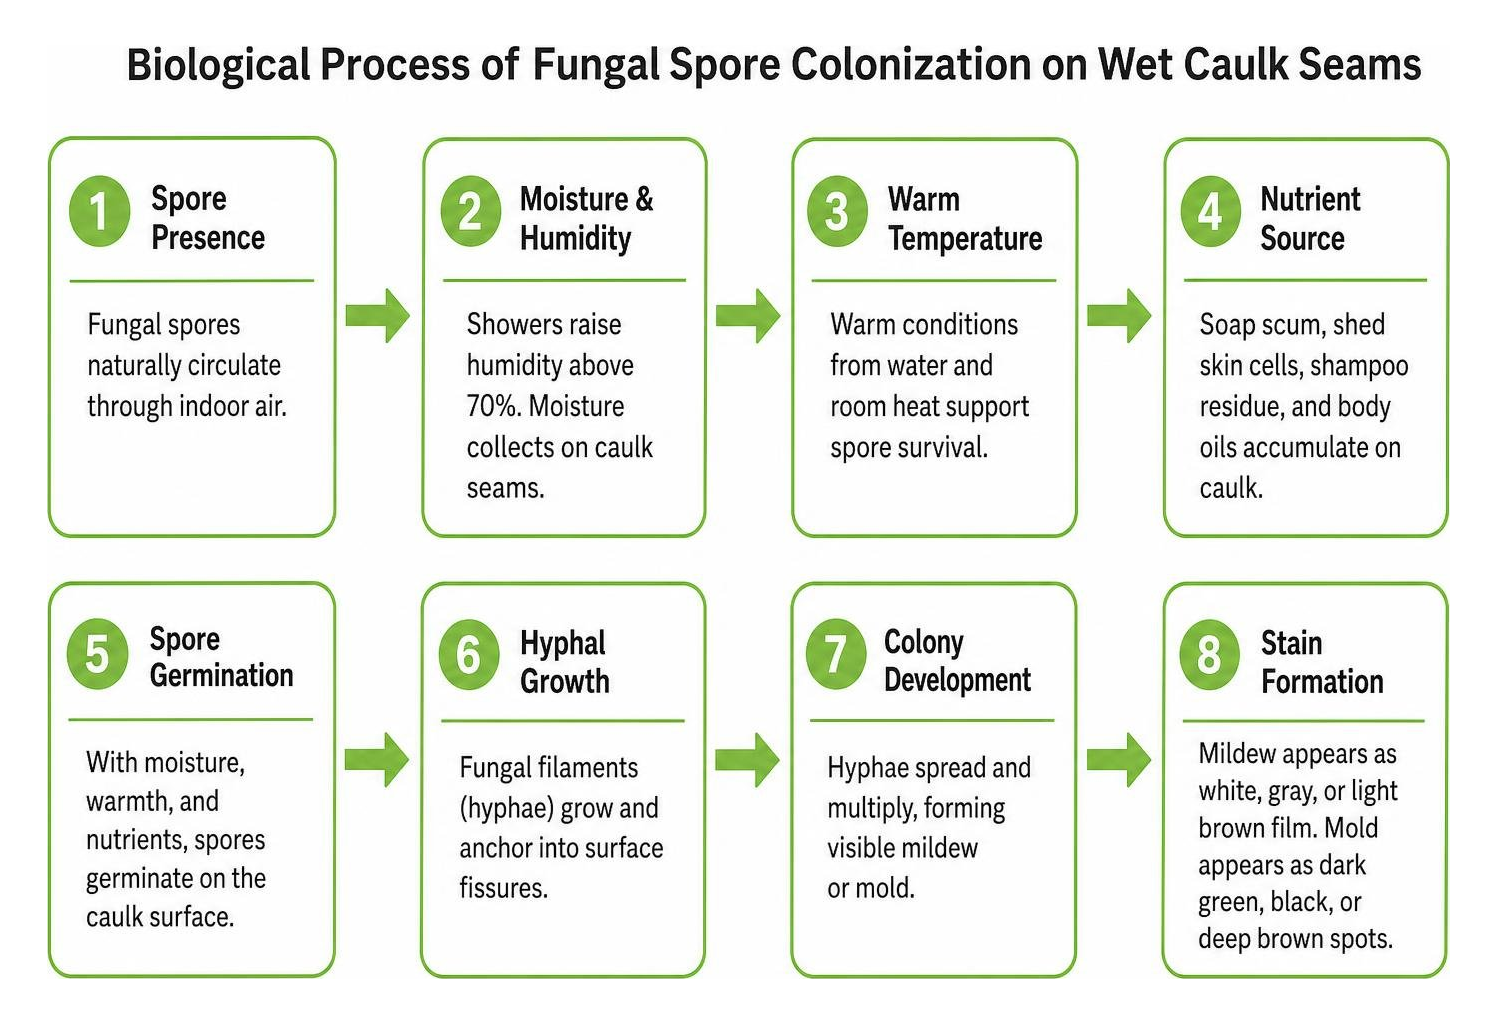
Fungal spores naturally circulate through indoor air. To germinate, they require three basic elements: sustained moisture, warm temperatures, and an organic food source. Shower caulk lines capture soap scum, shed skin cells, shampoo residues, and body oils, creating a nutrient-rich foundation for microbes.
Understanding the biological differences when distinguishing between mildew vs mold helps set realistic expectations for cleaning:
- Mildew: An early-stage, superficial fungal growth that typically presents as a flat, powdery white, gray, or light brown film resting on the surface. Because it does not root deeply, surface cleaners remove it readily.
- Mold: A more established fungal colony that produces microscopic root-like structures called hyphae. Mold often appears as dark green, black, or deep brown spots that penetrate microscopic surface fissures in flexible sealant.
In enclosed marine heads, these dynamics intensify. Marine bathrooms operate in tight quarters with limited natural airflow, constant exposure to humid ocean air, and the mechanical vibration of vessel operation that can cause micro-fissures along caulked seams.
Proven Methods: How to Clean Mildew in Shower Caulk
When addressing early-stage mildew on sound caulk lines, aggressive scrubbing or caustic chemicals can often do more harm than good. A targeted, staged cleaning process eliminates biological growth without stripping away the sealant’s elasticity.

Before beginning any treatment, prepare your workspace and gather non-destructive cleaning supplies:
- Nitrile or rubber cleaning gloves
- Eye protection
- A soft-bristle toothbrush or specialized nylon grout brush
- Clean microfiber drying towels
- Distilled white vinegar (5% to 6% acidity)
- Pure baking soda (sodium bicarbonate)
- Standard 3% hydrogen peroxide solution
Safety Precaution: Always open bathroom windows and run exhaust fans during remediation. Never combine vinegar (an acid) with bleach or commercial hypochlorite cleaners, as this mixture produces dangerous chlorine gas.
A comprehensive guide on how to clean mold and mildew from caulk outlines non-corrosive household approaches that safely lift fungal stains.
How to Clean Mildew in Shower Caulk Using Vinegar and Baking Soda
Distilled white vinegar contains acetic acid, a natural antimicrobial compound that penetrates porous fungal cells. Baking soda acts as a mild, non-scratching abrasive and alkaline booster that lifts organic grease and soap scum.
- Apply the Acid Stage: Pour undiluted white vinegar into a spray bottle. Thoroughly coat the mildew-stained caulk line until saturated.
- Observe Dwell Time: Allow the vinegar to sit undisturbed for 20 to 30 minutes. This gives the acetic acid adequate time to break down fungal cell membranes.
- Form the Scrub Paste: In a small bowl, mix two parts baking soda with one part warm water until it reaches the consistency of smooth toothpaste.
- Agitate Gently: Apply the paste over the damp caulk line. Using an old toothbrush, gently work the paste along the seam in small circular motions. Follow practical guidance on keeping shower caulk clean by avoiding wire brushes or hard plastic scrubbers that can slice or pull the sealant bead away from the tile.
- Rinse and Dry: Flush the seam thoroughly with clean, warm water to remove all slurry. Blot the line completely dry using a microfiber cloth.
How to Clean Mildew in Shower Caulk With Hydrogen Peroxide for Tough Stains
If residual gray or brown pigments linger after a vinegar treatment, 3% hydrogen peroxide delivers an effective, non-destructive oxidation process that bleaches organic stains without breaking down silicone bonds.
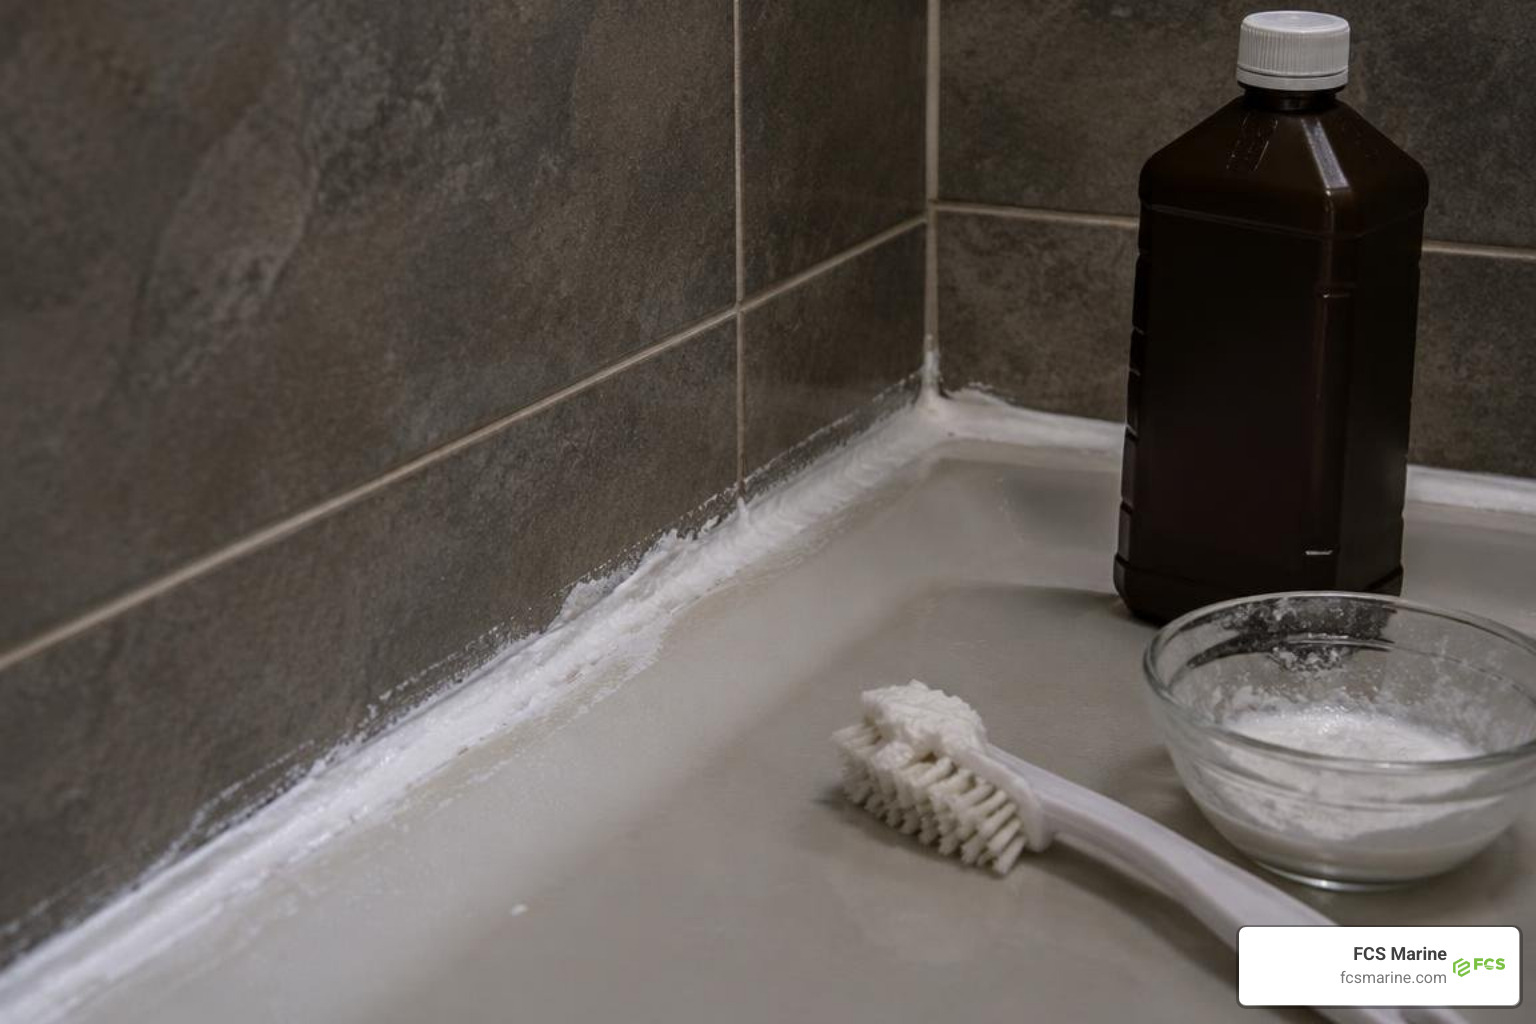
Reviewing practical hydrogen peroxide shower cleaning techniques illustrates how ambient conditions influence cleaning chemistry. Because hydrogen peroxide rapidly degrades into simple water and oxygen when exposed to direct light, applying it in a dimmed bathroom maximizes contact potency.
- Surface Prep: Ensure any previously applied vinegar is completely rinsed away and the caulk seam is dry.
- Apply the Peroxide: Spray 3% hydrogen peroxide directly onto the stained caulk, or create a thick paste using baking soda and hydrogen peroxide.
- Extend Contact Time: For stubborn spots, press a narrow strip of paper towel or cotton coil directly against the paste-covered caulk bead. This keeps the solution damp against vertical seams and prevents premature drying.
- Wait and Rinse: Let the treatment sit for 30 to 45 minutes in low lighting. Remove the paper towel strip, brush lightly with warm water, rinse clean, and dry the joint thoroughly.
Surface Mildew vs. Deep Growth: When Cleaning Fails
Cleaning solutions only eradicate fungal organisms they can physically touch. When a sealant joint loses its adhesive bond or degrades internally, moisture seeps behind the bead, creating a protected breeding ground for mold hyphae within the wall cavity.

Knowing whether you are dealing with superficial residue or structural failure saves time and prevents hidden moisture damage:
| Diagnostic Feature | Surface Mildew | Sub-Caulk / Embedded Mold |
|---|---|---|
| Visual Appearance | Light gray, dusty white, or brown film | Deep black, speckled spots beneath the translucent sealant |
| Tactile Texture | Wipes away or lightens with light brushing | Smooth to touch; the stain sits trapped behind the outer layer |
| Caulk Adhesion | Bead is firmly bonded to both surfaces | Edges are peeling, lifted, spongy, or cracked |
| Response to Cleaning | Disappears after vinegar or peroxide dwell time | Reappears within 24–48 hours or does not change color at all |
| Structural Integrity | Waterproof barrier remains 100% intact | Water penetrates behind the tile substrate or bulkhead |
If you notice persistent discoloration or lifted edges, look for additional signs of moldy silicone sealant that indicate internal colonization. When hyphae root underneath the rubber, surface scrubbing will never resolve the problem.
When to Replace Shower Caulk and What Sealant to Choose
When mold establishes itself behind a bead, complete replacement is the only reliable solution. Leaving failed caulk in place allows water to pool behind tiles, rotting backer boards in homes and delaminating bulkheads or composite liners in marine heads.
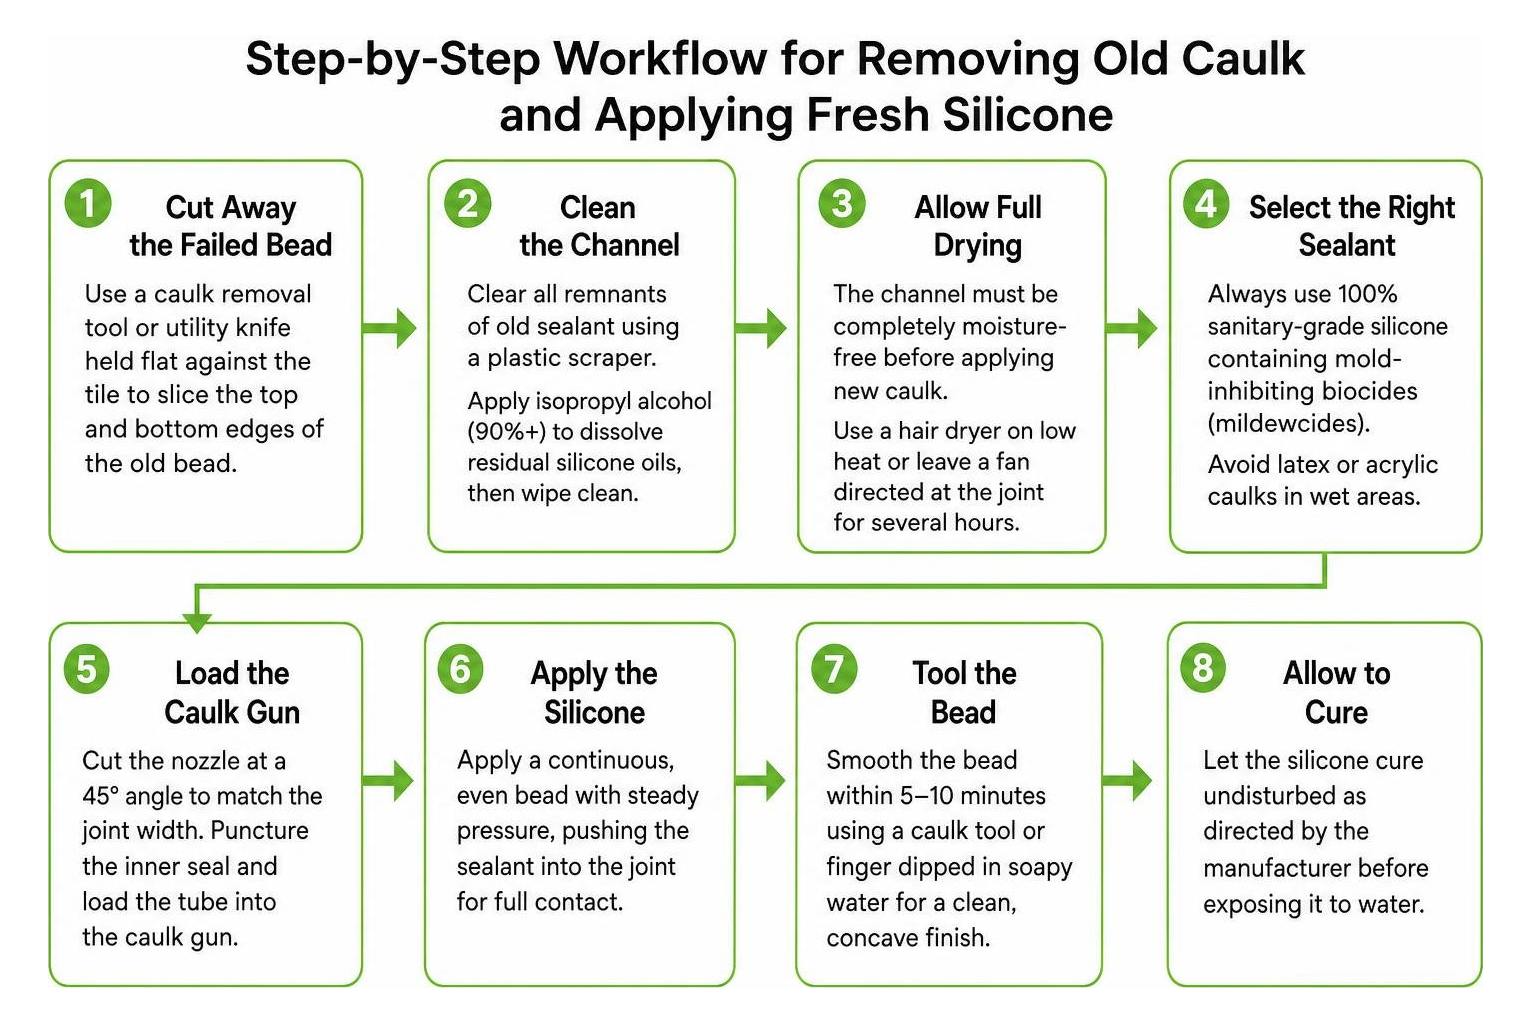
Follow these steps to recaulk correctly:
- Cut Away the Failed Bead: Use a specialized caulk removal tool or utility knife held flat against the tile to slice the top and bottom edges of the old bead. Take care not to scratch surrounding fiberglass or tile glazes.
- Clean the Channel: Clear all remnants of old sealant using a plastic scraper. Apply isopropyl alcohol (90%+) to dissolve residual silicone oils, then wipe clean.
- Allow Full Drying: The channel must be completely moisture-free before applying new caulk. Trapping even a single drop of water behind a fresh bead guarantees new mold growth within weeks. Use a hair dryer on low heat or leave an oscillating fan directed at the joint for several hours.
- Select the Right Sealant: Always use 100% sanitary-grade silicone containing mold-inhibiting biocides (mildewcides). Avoid latex or acrylic caulks in wet shower areas, as they break down faster under constant water exposure. You can review practical silicone replacement guidance to ensure proper tooling and material selection.
- Tool and Cure: Tape both edges with painter’s tape, apply a smooth, continuous bead at a 45-degree angle, smooth the joint with a gloved finger dipped in water, and immediately peel away the tape. Allow 24 hours of curing before running water.
Prevention Habits for Residential Bathrooms and Enclosed Marine Heads
Preventing mildew requires controlling ambient moisture and eliminating the organic films that spores feed upon. Establishing simple daily habits reduces humidity and keeps caulk seams dry.
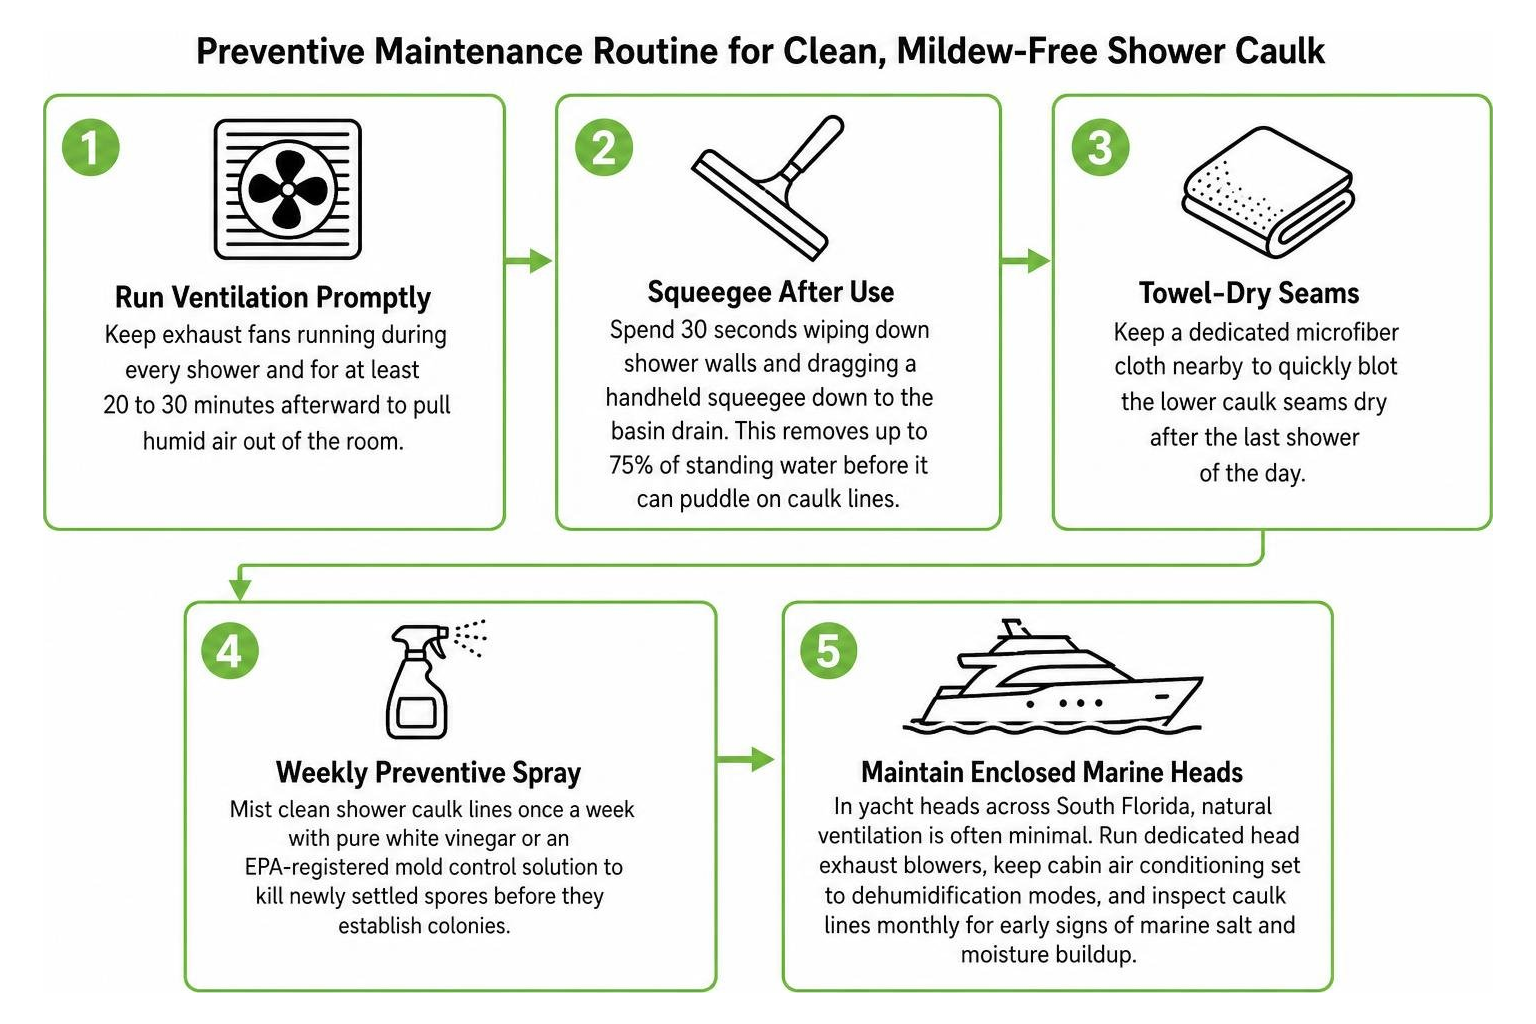
Implement these preventive maintenance routines:
- Run Ventilation Promptly: Keep exhaust fans running during every shower and for at least 20 to 30 minutes afterward to pull humid air out of the room.
- Squeegee After Use: Spend 30 seconds wiping down shower walls and dragging a handheld squeegee down to the basin drain. This removes up to 75% of standing water before it can puddle on caulk lines.
- Towel-Dry Seams: Keep a dedicated microfiber cloth nearby to quickly blot the lower caulk seams dry after the last shower of the day.
- Weekly Preventive Spray: Mist clean shower caulk lines once a week with pure white vinegar or an EPA-registered mold control solution to kill newly settled spores before they establish colonies.
- Maintain Enclosed Marine Heads: In yacht heads across South Florida, natural ventilation is often minimal. Run dedicated head exhaust blowers, keep cabin air conditioning set to dehumidification modes, and inspect caulk lines monthly for early signs of marine salt and moisture buildup.
Frequently Asked Questions About Cleaning Mildew from Shower Caulk
Why does mildew keep returning to my shower caulk?
Mildew returns when high relative humidity (above 60%) and poor air circulation leave caulk seams damp for hours after a shower. If cleaning provides only temporary relief, microscopic fungal roots (hyphae) have likely penetrated into microscopic fissures in the silicone or moisture is trapped behind a compromised seal.
Is bleach safe to use for cleaning silicone caulk?
While chlorine bleach can temporarily lighten superficial stains, regular use on silicone caulk is discouraged. Bleach can degrade the flexibility and elasticity of silicone over time, causing it to harden, crack, and pull away from tile surfaces. Furthermore, bleach does not effectively penetrate porous surfaces to eliminate fungal root systems.
How long does mold-resistant shower caulk typically last?
High-quality 100% silicone caulk formulated with antimicrobial additives typically lasts 5 to 10 years in standard residential bathrooms. In high-humidity marine environments or heavily used guest heads, caulk should be inspected annually and replaced every 3 to 5 years as biocides wash out and structural vessel vibrations stress the adhesive bond.
Professional Marine Mold Cleaning and Remediation
While routine surface cleaning keeps residential caulk in check, moisture problems aboard boats and motor yachts in South Florida often involve deeper complications. High ambient humidity across coastal waterways like Fort Lauderdale, Miami, Pompano Beach, and West Palm Beach creates persistent moisture challenges inside enclosed yacht heads and interior cabins.
When mold spreads into HVAC ducting, headliner backing, structural bulkheads, or underlying marine insulation, household cleaners are insufficient. FCS Marine specializes in marine mold remediation and yacht sanitization, providing mobile on-site service that travels directly to your vessel at private docks, boat yards, marinas, and yacht clubs throughout Broward, Miami-Dade, Palm Beach, Martin, and St. Lucie counties.
Whether your vessel requires specialized air handler decontamination, head sanitization, marine refrigeration checks, or professional silicone cleaning and mold remediation solutions, our mobile marine specialists evaluate the root cause of moisture intrusion and restore clean, healthy air onboard. Contact FCS Marine today to schedule comprehensive on-site marine mold cleaning and ensure your yacht remains pristine all year round.