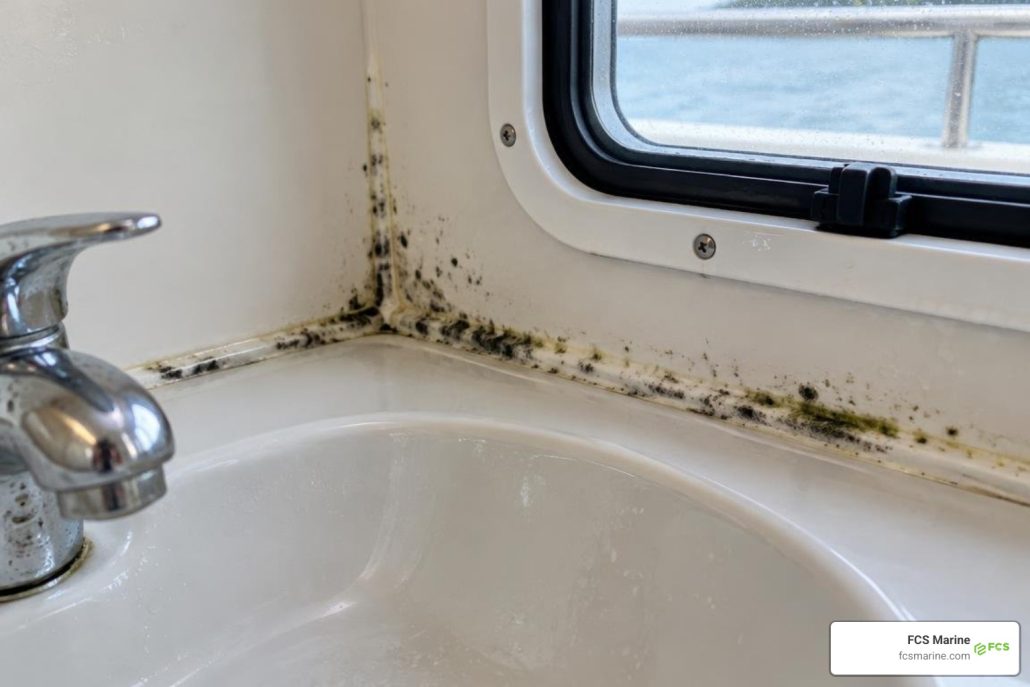
How to Get Mold Off Silicone Without Damaging It
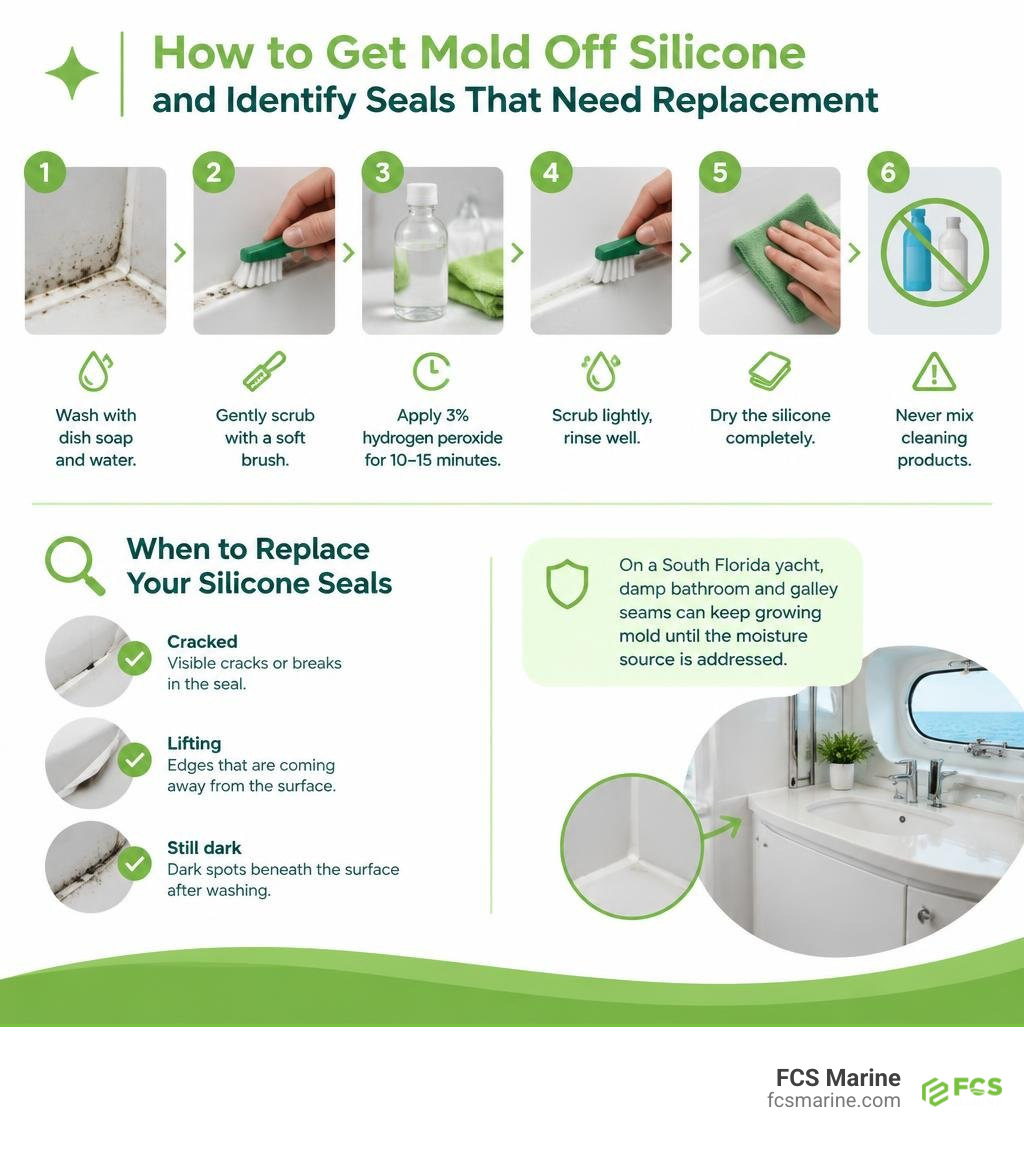
Here’s how to get mold off silicone: wash the surface with dish soap and water, then gently scrub it with a soft brush. If spots remain, apply 3% hydrogen peroxide for 10 to 15 minutes. Scrub lightly, rinse well, and dry the silicone completely. Never mix cleaning products.
Check the silicone before cleaning. If a seal is cracked, lifting, or still dark beneath the surface after washing, replacing it may be safer than scrubbing harder. On a South Florida yacht, damp bathroom and galley seams can keep growing mold until the moisture source is addressed.
FCS Marine provides on-site mold cleaning for vessels in South Florida and can help owners address mold that keeps returning.
How to get mold off silicone terms to learn:
Why Mold Colonizes Silicone Surfaces in Humid Environments
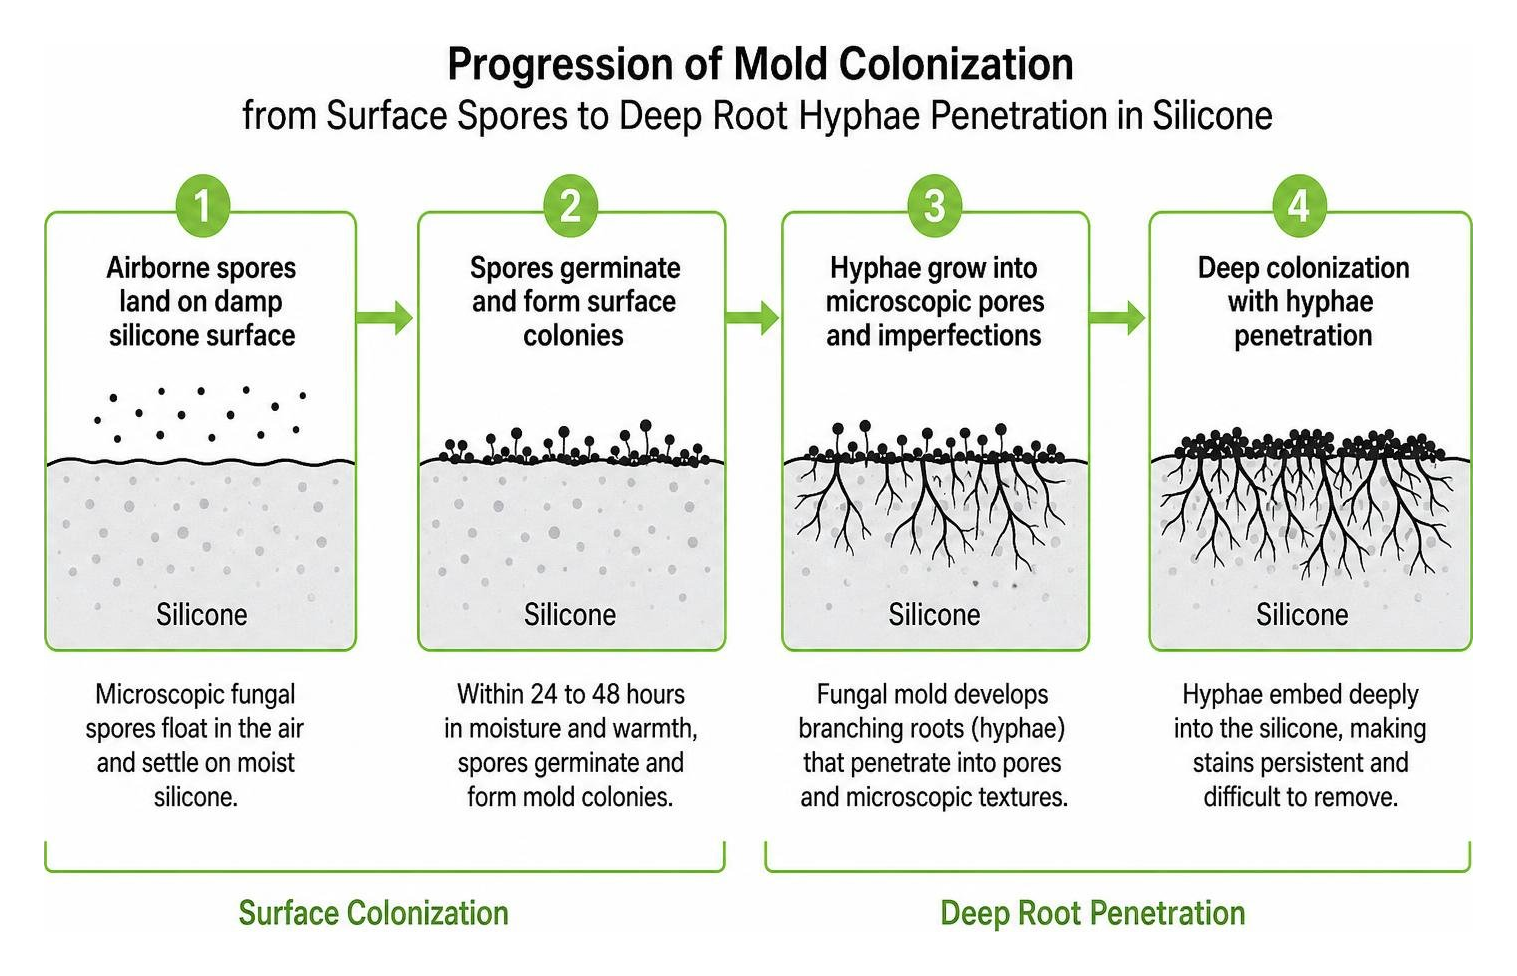
Silicone is widely prized across marine galleys, luxury heads, and household kitchens for its flexibility and water resistance. However, silicone is water-resistant, not mold-proof. Microscopic fungal spores float naturally through the air, seeking moisture, warmth, and organic matter. When these airborne spores settle on damp silicone, colonization begins in as little as 24 to 48 hours.
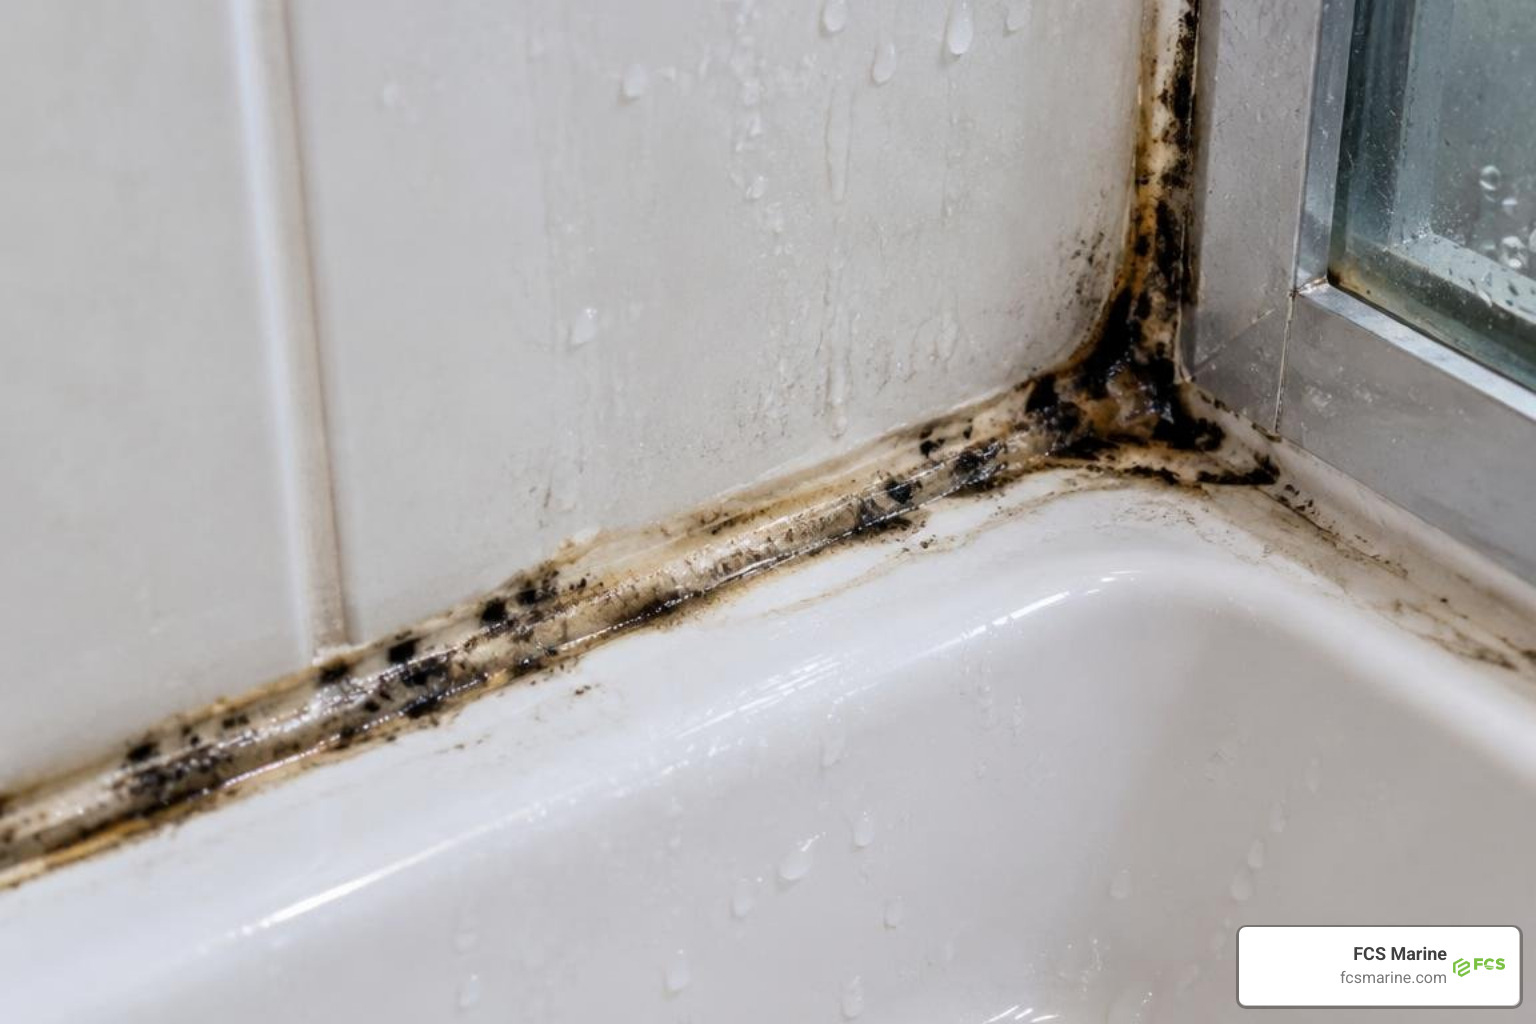
Although cured silicone rubber feels perfectly smooth to the touch, microscopic pores and surface imperfections exist throughout the material. Over time, these microscopic textures trap organic nutrients:
- Soap scum, body oils, and skin cells in marine heads and residential showers.
- Food residues, sugars, and grease films on galley baking molds and reusable bottle gaskets.
- Environmental dust, salt residues, and soot common in coastal waterways.
When high ambient humidity—such as the persistent relative humidity found across South Florida—combines with stagnant air in enclosed compartments, fungi flourish. Understanding the difference between mildew vs mold is vital: while powdery mildew stays flat on damp surfaces and cleans easily, fungal mold develops branching microscopic roots (hyphae) that embed deeply into porous, aging polymers.
| Characteristic | Surface Mold | Deep Structural Penetration |
|---|---|---|
| Visual Appearance | Light gray, green, or speckled black surface film | Solid, dark black or dark brown spots inside the bead |
| Tactile Texture | Silicone remains pliable, smooth, and firmly adhered | Silicone feels slimy, spongy, brittle, or lifts at the edge |
| Cleaning Response | Wipes away with vinegar, peroxide, or light scrubbing | Color persists beneath the surface despite repeated chemical soaking |
| Remediation Action | Surface disinfection and moisture control | Complete mechanical removal and re-caulking |
How to Get Mold off Silicone When It Is Just on the Surface
Before applying cleaning agents, perform a simple tactile elasticity check. Gently press and flex the silicone seal. If the bead is elastic, firmly bonded to the adjoining surfaces, and shows no physical cracking or edge peeling, the mold colonization is likely confined to the surface biofilm.
Early detection makes remediation non-destructive. If caught before fungal hyphae degrade the underlying bond, simple household oxidizers and mild abrasives will completely lift the fungal spores without compromising the silicone’s watertight properties.
Proven Cleaning Agents: How to Get Mold off Silicone Safely
Choosing the correct cleaning agent prevents polymer degradation while ensuring thorough spore eradication. According to mold cleanup guidelines from the US EPA, areas under 10 square feet can typically be managed using safe DIY protocols, provided you use the proper methods and personal protective equipment.
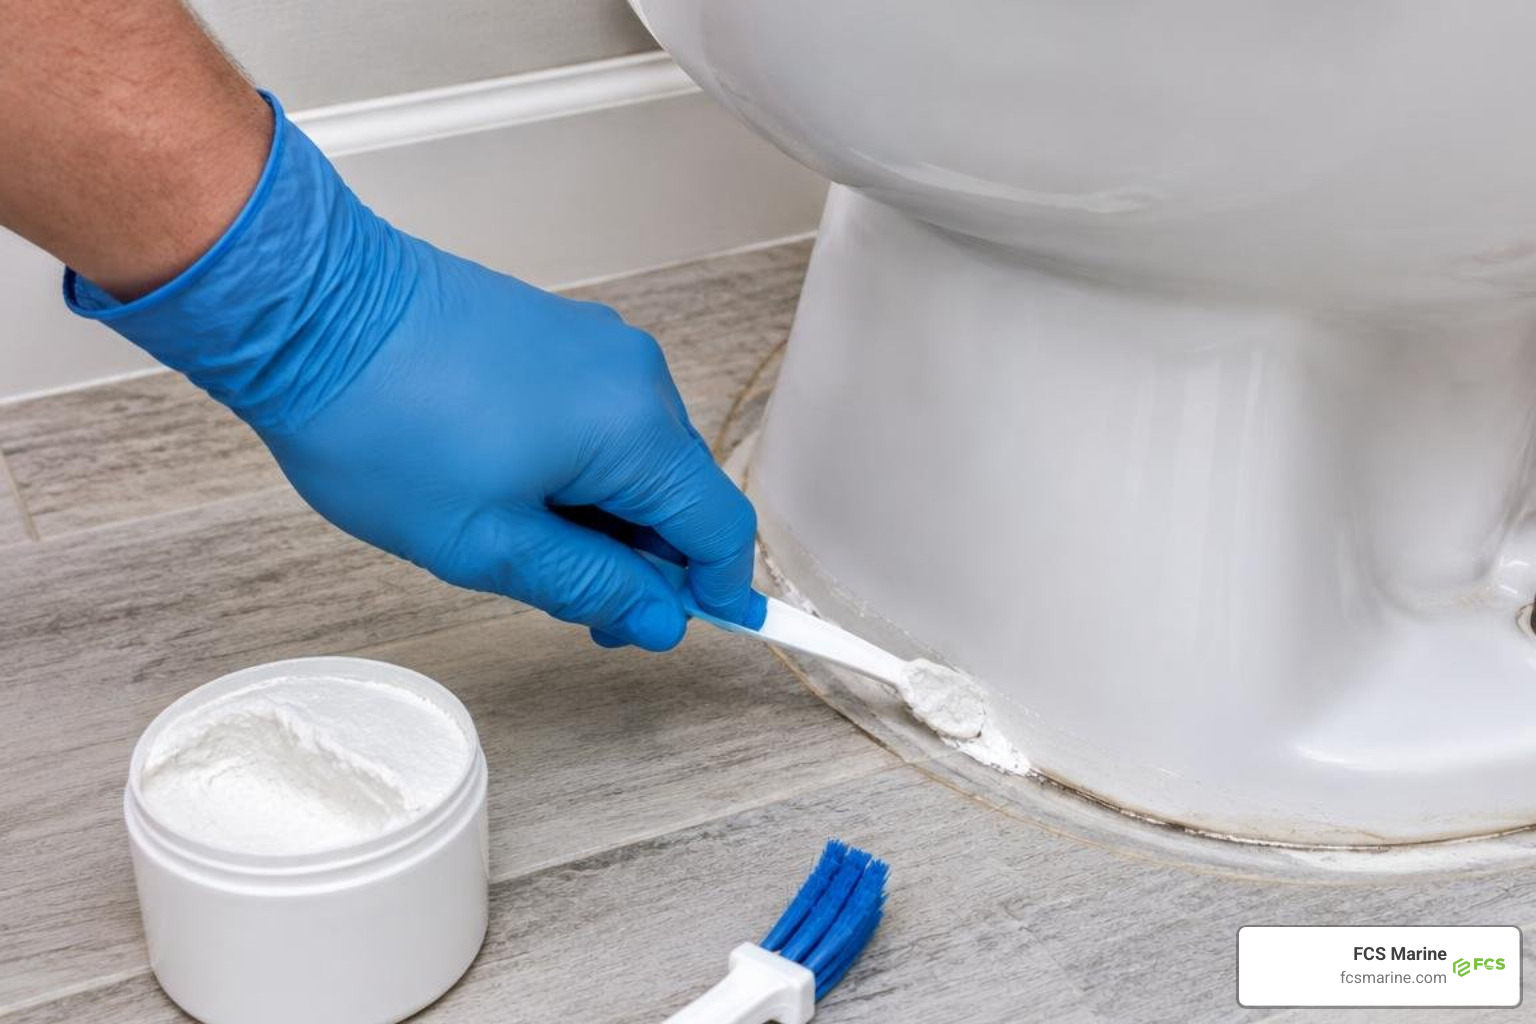
When working with mold remediation agents, always protect yourself:
- Wear an N-95 respirator mask to avoid inhaling aerosolized mold spores.
- Use nitrile or rubber gloves to prevent chemical skin irritation.
- Wear safety glasses to shield eyes from splashes during scrubbing.
- Ensure cross-ventilation by opening hatches, windows, or running exhaust blowers.
You can apply several proven methods to clean silicone using safe, accessible household supplies.
Natural Cleaning Agents and Baking Soda Poultices
Distilled white vinegar is exceptionally effective against fungal infestations. The natural acetic acid dissolves mold hyphae and penetrates microscopic pores without damaging silicone polymers.
For stubborn spots, baking soda serves as a mild abrasive, natural fungicide, and odor neutralizer. Combining these agents creates a powerful poultice:
- Mix baking soda with small splashes of water or 3% hydrogen peroxide until it forms a thick, spreadable paste.
- Generously pack the paste over the moldy silicone joints.
- Cover the paste with clear plastic wrap to lock in moisture and prevent premature drying.
- Allow a dwell time of 2 to 8 hours (or overnight for severe staining).
- Gently agitate the area using a soft-bristled brush, rinse clean with fresh water, and wipe completely dry.
Diluted Bleach Precautions and Polymer Degradation
While standard sodium hypochlorite (household bleach) is frequently reached for, it carries significant limitations. Bleach only tackles surface-level discoloration; its high surface tension prevents it from penetrating deep into porous silicone to destroy root structures. Furthermore, bleach creates an optical whitening illusion by stripping melanin from the mold while leaving underlying spores alive.
Prolonged, concentrated exposure to chlorine bleach degrades silicone polymer elasticity over time, turning flexible seals hard and brittle. For food-contact items, chemical absorption creates safety hazards. Reviewing expert advice on sanitizing moldy silicone kitchenware confirms that harsh chemical cleaners should never be used on items used for food preparation.
If you choose to use bleach on non-food bathroom or deck caulking:
- Dilute to a strict 1:10 ratio (1 part bleach to 10 parts water, or roughly 1 tablespoon per gallon for light cleaning).
- Limit chemical dwell times to no more than 15 to 30 minutes.
- NEVER mix bleach with vinegar, ammonia, or acids, as this reaction generates lethal chlorine or chloramine gas.
Application Protocols: Restoring Kitchenware, Bathroom Seals, and Marine Fixtures
Different silicone applications demand specialized remediation approaches. Whether cleaning food-grade molds or head compartment seams, follow dedicated protocols to protect material integrity.
How to Get Mold off Silicone Kitchenware and Food Containers
Food-grade silicone can handle extreme temperatures, making thermal sanitization ideal for reusable bottle lids, container gaskets, and baking pans:
- Moist Heat Boiling (10-Minute Soak): Place silicone items in a pot of boiling water for 10 minutes. This moist heat eradicates microbial life, dissolves trapped grease, and neutralizes lingering odors. Adding 1 tablespoon of baking soda to the boil accelerates odor removal.
- Dry Oven Sanitization: For heat-rated bakeware, consult safe temperature sanitizing for silicone molds. Place clean silicone bakeware in an oven preheated to 350°F (175°C) for 10 to 15 minutes to thermally neutralize embedded spores.
- Food Container Maintenance: You can find step-by-step methods for safely reusing food containers after mold contamination to ensure silicone sealing rings remain sanitary.
Treating Moldy Silicone Caulk on Boats and Bathrooms
Vertical silicone seams in heads and showers require sustained chemical contact because liquids run off before penetrating the mold. Follow this practical approach to remove mold from shower caulk in 3 steps:
- Prepare the Surface: Thoroughly dry the silicone joint with a microfiber cloth. Applying treatments to a dry surface prevents active ingredients from being diluted by water droplets.
- Apply a Cotton or Paper Poultice: Soak rolled cotton coils or strips of paper towel in 3% hydrogen peroxide or diluted white vinegar. Press the saturated strips firmly against the moldy vertical caulk bead so they adhere directly to the seam.
- Dwell and Rinse: Let the poultice sit for 8 to 12 hours. Remove the strips, lightly scrub away loosened residue with a soft nylon toothbrush, rinse with clean fresh water, and dry the joint thoroughly.
For cost-effective upkeep across larger installations, review our guide on removing mouldy silicone on a budget.
When to Clean vs. When to Strip and Replace Silicone Sealant
Cleaning has its limits. When fungal colonies penetrate beneath the silicone bead, surface treatments will fail, and black discoloration will return within days.
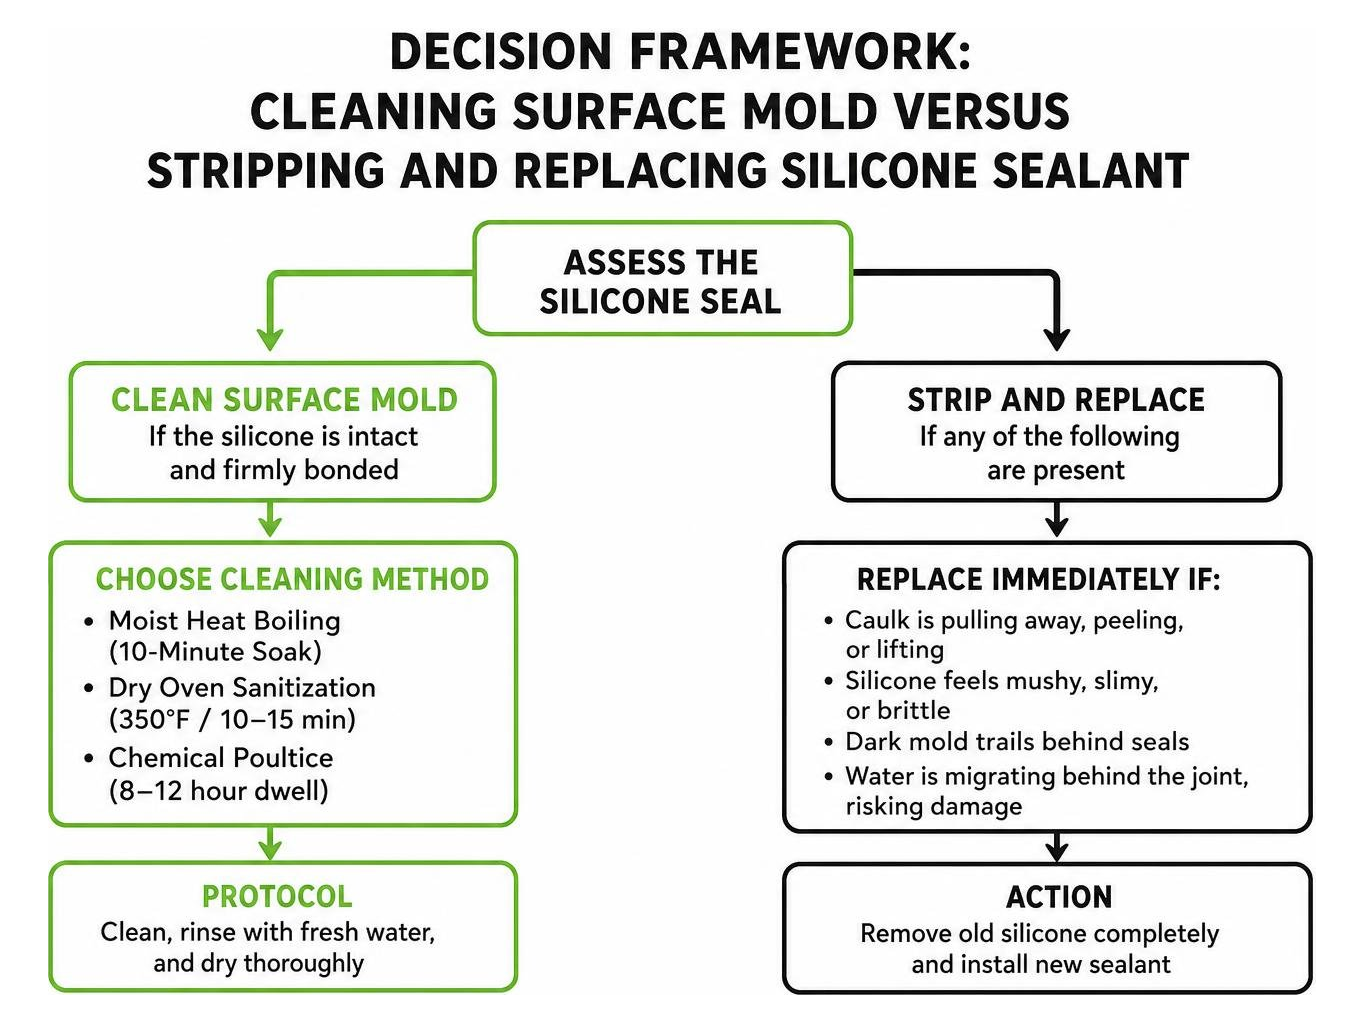
Replace the silicone immediately if you notice:
- The caulk is pulling away, peeling, or lifting from the substrate.
- The silicone feels mushy, slimy, or brittle.
- Dark mold trails extend behind transparent or semi-translucent seals.
- Water is migrating behind the joint, risking wood rot or bulkhead delamination.
To replace compromised caulk safely, follow established mechanical protocols such as the re-caulking steps in Bunnings’ DIY guide:
- Slice away the damaged silicone bead using a plastic razor or caulk removal tool, taking care not to scratch gelcoat, tile, or stone.
- Apply a chemical silicone remover to dissolve stubborn polymer films, letting it sit for two hours before scraping.
- Clean the exposed joint channel with methylated spirits or isopropyl alcohol to eliminate oils and residues.
- Disinfect the bare substrate with undiluted white vinegar or a marine-grade mold cleaner to kill lingering spores.
- Apply a high-grade, mold-resistant 100% sanitary marine silicone, tool the bead with a soapy water mist, and allow a full 72-hour cure time before water exposure.
Long-Term Prevention Strategies to Keep Silicone Mold-Free
Preventing mold recurrence requires continuous environmental moisture control:
- Maintain Target Humidity: Keep indoor and cabin relative humidity strictly between 30% and 50%. Elevated humidity levels create prime conditions for fungal germination.
- Improve Air Circulation: Run exhaust blowers during showers and leave them operating for at least 30 minutes afterward.
- Implement Daily Wipe-Downs: Use a squeegee or dedicated microfiber towel to remove standing water from silicone seams after every use.
- Routine Preventative Misting: Spray silicone seams weekly with undiluted white vinegar to inhibit new spore germination before hyphae take root.
- Maintain Marine Climate Control Systems: In marine vessels, ensure onboard air conditioning and dehumidification units are regularly serviced, as clogged coils and overflowing condensate pans circulate fungal spores directly onto cabin surfaces.
Frequently Asked Questions About Cleaning Mold from Silicone
Does boiling water kill mold spores on silicone items?
Yes. Submerging heat-safe, food-grade silicone items in rolling boiling water for at least 10 minutes effectively destroys active mold cells and fungal spores through moist-heat thermal lysis. This method also eliminates trapped food odors without leaving chemical residues.
Can I paint over moldy silicone caulk to hide dark stains?
No. Paint does not adhere properly to 100% silicone, causing it to bubble and peel quickly. More importantly, painting over mold traps living spores underneath, where they continue feeding on moisture and degrading the seal. Always remediate the mold or cut out and replace the bead.
Is discolored silicone dangerous after thorough sanitization?
Not necessarily. Silicone is slightly porous and can absorb pigments from food, tannins, or inert melanin left behind by dead mold spores. If the silicone has been boiled or treated with oxidizers, feels elastic, and is structurally intact, discoloration alone does not indicate active microbial growth.
Professional Marine Service in South Florida
Persistent mold on silicone seals is often a visible symptom of broader environmental moisture issues. When mold continuously returns to head compartments, galleys, or salon headliners on your vessel, surface cleaning alone will not solve the underlying problem.
At FCS Marine, our family-owned business specializes in complete vessel environmental management and mechanical maintenance throughout South Florida, including Fort Lauderdale, Pompano Beach, Miami, Palm Beach County, Broward County, Miami-Dade County, Martin County, and St. Lucie County.
Our technicians provide mobile, on-site service directly to your marina, private dock, or boat yard, offering expert solutions across:
- Marine Air Conditioning & Refrigeration: Diagnosing airflow imbalances, cleaning evaporator coils, and repairing chiller systems to keep cabin air dry and clean.
- Marine Mold Remediation & Sanitization: Eradicating deep-seated fungal infestations using marine-safe methods.
- Yacht Insulation & Condensation Control: Eliminating thermal bridging that causes chronic moisture pooling along hull fittings and bulkheads.
- Water Purification & Watermakers: Ensuring onboard freshwater systems deliver pristine, contaminant-free water.
For expert assistance with persistent marine mold or to schedule comprehensive vessel climate and sanitization services, review our professional guide to cleaning silicone sealant like a pro and contact our mobile service team today.